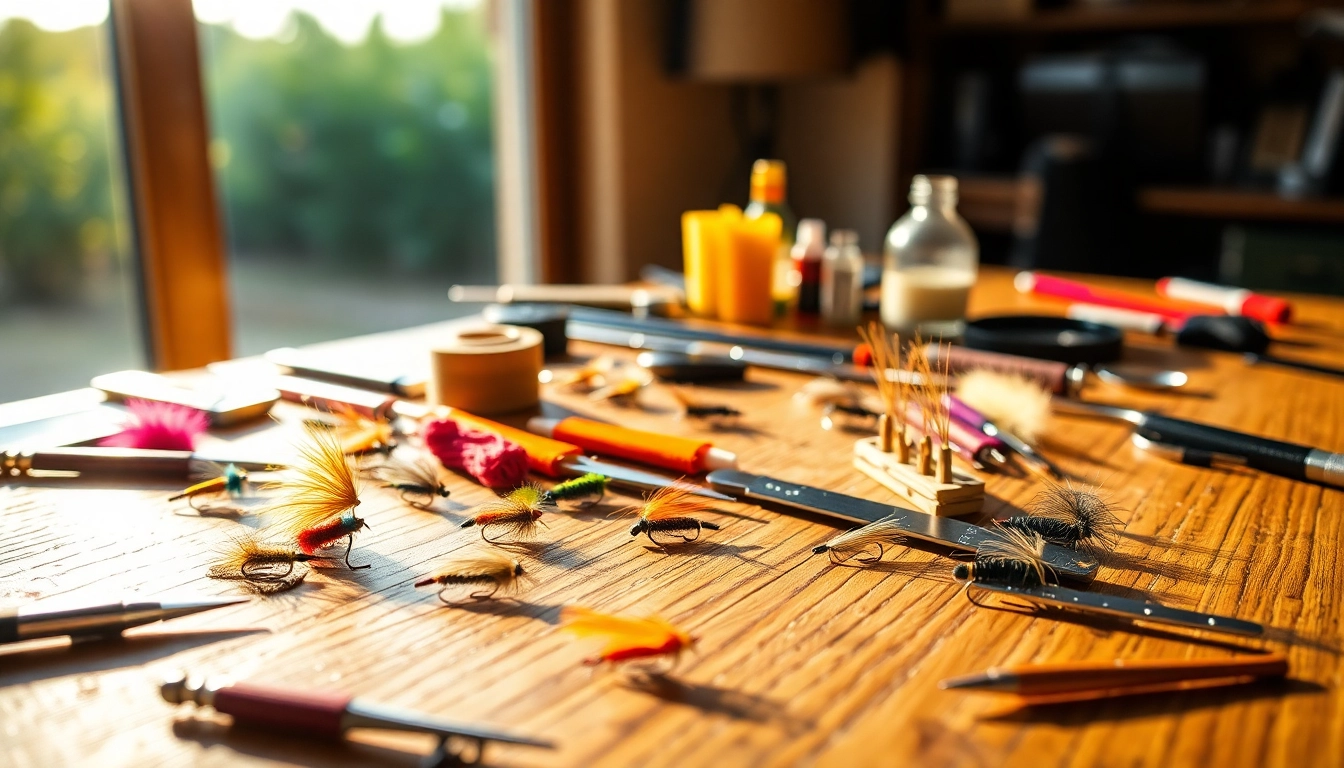
Understanding the Basics of Fly Tying
Fly tying is both an art and a science—an essential skill for anglers who seek to create effective fishing lures that mimic the movement and appearance of aquatic insects. The sheer joy of crafting a fly from scratch combined with the thrill of seeing it succeed on the water makes fly tying a rewarding endeavor. To effectively engage in fly tying, it's important to understand its fundamentals, including the tools, materials, and basic techniques needed.
What is Fly Tying?
Fly tying is the process of assembling various materials onto a hook to create artificial flies used in fly fishing. Unlike traditional fishing lures, which may use spinners or baits, flies are generally crafted to imitate insects, baitfish, or other aquatic organisms that fish prey upon. This craft allows anglers to tailor their flies to specific fishing conditions, enhancing the chances of attracting fish. The practice has a rich history and has evolved significantly over the years, incorporating various techniques and materials to improve effectiveness.
Essential Tools for Fly Tying
Successful fly tying requires a set of specialized tools to facilitate the creation of intricate patterns. Here’s a list of essential tools:
- Vise: Holds the hook securely in place while tying.
- Thread: Used to secure materials; available in various colors and weights.
- Bobbin: A device for holding and feeding thread.
- Scissors: Fine-tipped to cut excess material precisely.
- Hackle Pliers: Assist in gripping and positioning feather hackles.
- Dubbing Loop Twister: Helps in creating dubbing loops for added texture.
Materials Needed for Fly Tying
The materials you choose for fly tying can significantly affect the performance and appearance of the flies you create. Common materials include:
- Hook: The foundation of the fly, available in numerous shapes and sizes.
- Feathers: Often used for wings and tails; common types include hackle and marabou.
- Fur: Provides bulk and texture; examples include rabbit fur and deer hair.
- Wax or Glue: Assist with holding layers together or securing finishing touches.
- Synthetic Materials: Such as foam and flash, to create specific effects and durability.
Fundamental Fly Tying Techniques
Mastering the fundamental techniques in fly tying is critical to the success of any fly angler. These techniques can impact the visual appeal and movement of the flies in the water.
Choosing the Right Patterns
The first step in effective fly tying is choosing the right fly patterns that suit the specific environment and target fish species. Research local aquatic life by examining what fish are feeding on at the time. Many patterns are categorized by the type of insect or bait they imitate, such as:
- Dry flies: Imitate insects floating on the surface.
- Nymphs: Represent immature insects under water.
- Streamers: Mimic larger baitfish or amphibians.
Step-by-Step Guide to Common Flies
Creating a basic fly can be easy with the right instructions. Here is a simple step-by-step guide for tying the Woolly Bugger, a versatile fly that can imitate various baitfish and stream creatures:
- Secure the hook in the vise.
- Begin by wrapping thread around the hook shank from the eye to the bend.
- Attach a strip of marabou for the tail, tying it in at the back of the hook.
- Add a body material such as chenille and wrap it forward over the marabou tail.
- Attach a feather hackle and wrap it several times around the hook.
- Finish with a few half-hitches and trim excess thread.
Important Knotting Techniques
Mastering several knotting techniques is essential for securing materials effectively. A few crucial knots include:
- Half Hitch: Secures thread and materials temporarily.
- Turle Knot: Creates loops for securing wings or tails.
- Griffin’s Knot: Popular for adding materials like hackles for stability and flow.
Advanced Fly Tying Methods
Once the basics of fly tying are mastered, there are many advanced techniques that can be explored to enhance fly design.
Unique Techniques for Complex Flies
Advanced fly tying can incorporate a variety of techniques that require more skill and innovation. Some examples include:
- Layered tying: Using multiple layers of materials to create dimension.
- Bobbin tension: Adjusting thread tightness to find the perfect balance.
- Using UV resin: For building unique bodies and finishes that add to durability.
Incorporating Natural Materials
Natural materials often provide unmatched realism in flies. Learning to properly handle and incorporate materials like feathers, fur, and peacock herl can significantly enhance your flies' allure.
Creating Customized Patterns
Customization is an excellent way to develop flies that are uniquely suited to your fishing environment. By blending techniques and experimenting with color, texture, and materials, you can create innovative patterns that may be more effective in specific conditions.
Common Challenges in Fly Tying
Every fly tier eventually faces challenges, whether due to material selection or assembly errors. Recognizing these common pitfalls can help improve your skills.
Identifying Material Issues
Not all materials are created equal, and sometimes subpar materials can hinder the quality of your flies. Look for sturdiness, colorfastness, and how well materials hold up in water.
Correcting Mistakes During Assembly
Mistakes are part of the learning process. If you find yourself in a bind, don’t hesitate to undo a few wraps to correct misplacements. Patience is crucial; most errors can be resolved without starting over.
Time Management and Efficiency Tips
Fly tying can be time-consuming, so developing an efficient workflow is essential. Organize your materials, maintain your tools, and create a dedicated workspace to streamline the process.
Improving Your Fly Tying Skills
To continually evolve as a fly tier, seeking new ways to advance your skills is key.
Measuring Success with Feedback
Obtaining feedback from fellow anglers and participating in fly tying groups can offer insights on how to improve your tying techniques and choices. Embrace constructive criticism!
Finding Community and Resources
Connecting with local and online communities can be an invaluable resource for fly tiers. Many groups share tips, techniques, and even host tying competitions that can inspire you.
Continuously Advancing Techniques
To keep your skills fresh, dedicate time to learning new techniques regularly. Online tutorials, books, and workshops offer new insights and methods that can enhance your personal style of fly tying.
Frequently Asked Questions
What do I need to start fly tying?
Begin with a basic vise, thread, scissors, and hooks. As you progress, you can add more complex tools and materials.
How long does it take to learn fly tying?
Learning the basics can take a few weeks, but mastering advanced techniques may require months of practice.
What materials are best for beginners?
Start with affordable materials like synthetic fur and feathers, which are easier to handle and work with.
Can I tie flies without a vise?
While a vise is highly recommended for stability, some techniques can be adapted to tie without one, using your hand instead.
How do I store my tied flies?
Using fly boxes with secure compartments can help protect your flies. Keeping them dry and away from direct sunlight is also vital.